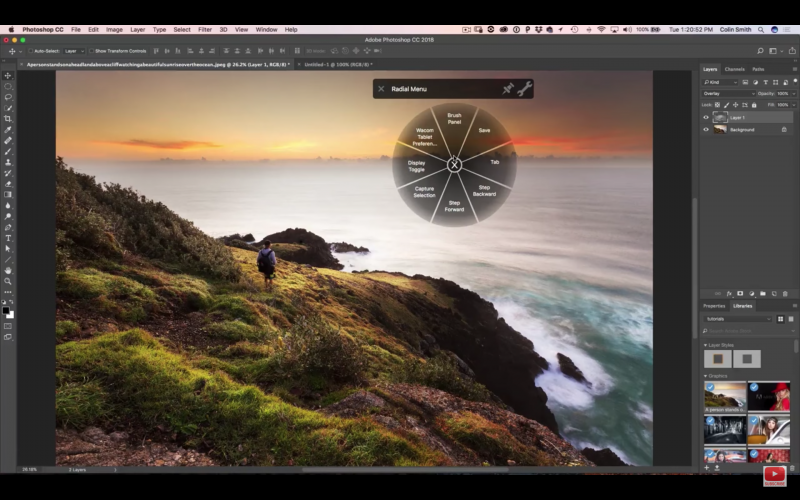
Wacom tablets are incredibly useful tools for those who often work in Adobe programs doing anything other than moving sliders. They may have a bit of a learning curve as new users adjust to the feeling of using a pen to move a computer’s cursor on what amounts to a large, pressure-sensitive trackpad that correlates to your screen’s real estate, but if you put in the time to let it become second nature you will be rewarded in dividends. 
As with many things related to retouching, there is more to using a Wacom tablet than meets the eye. Little secrets are hovering beneath the surface that can take an already rich experience up a notch. Colin Smith of PhotoshopCAFE has created a 10-minute video detailing five tips to get even more out of your Wacom Tablet.
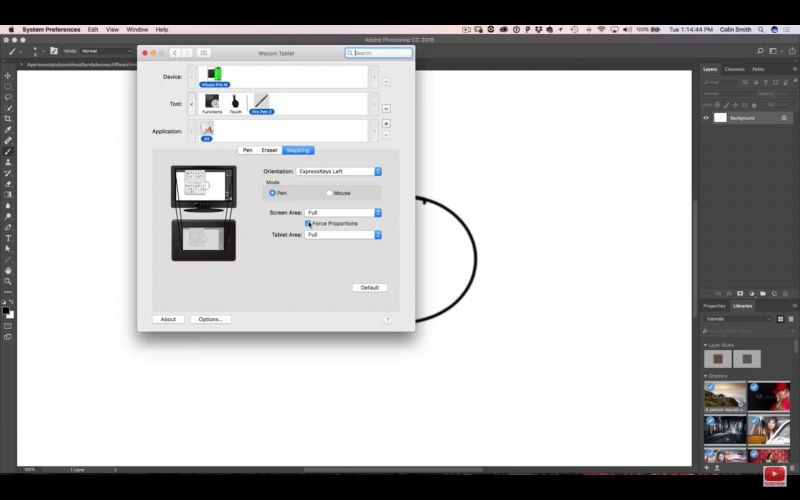
For instance, had you thought of tracing on a Wacom? And if you had, did you notice that the traced shapes did not look quite as they should? By going into your tablet’s settings in System Preferences or Control Panel and checking the “force proportions” box under the “mapping” tab, what you draw, whether traced or free-hand, will not be stretched or squished.
What this does is forces your Wacom tablet to correlate exactly to your screen area, even if they do not have the same aspect ratio.
To see all of the tips, watch the video below!